
In this tutorial, we are learning about how to install Ubuntu 22.04 LTS. Ubuntu 22.04 (codenamed Jammy Jellyfish) was released on April 21, 2022. This version has Long-Term Support (LTS) and will receive support and updates until April 2027.
Prerequisites
Recommended system requirements:
- A 2 GHz dual-core processor
- 4 GB system memory
- 25GB disk space for storage (less if installing the minimal version)
- Either a DVD drive or a USB port for the installer media
- At least a 4GB USB drive.
- Internet (for downloading the iso image)
Download the Ubuntu 22.04 LTS
To download Ubuntu 22.04 LTS, you have to visit the official website of Ubuntu.
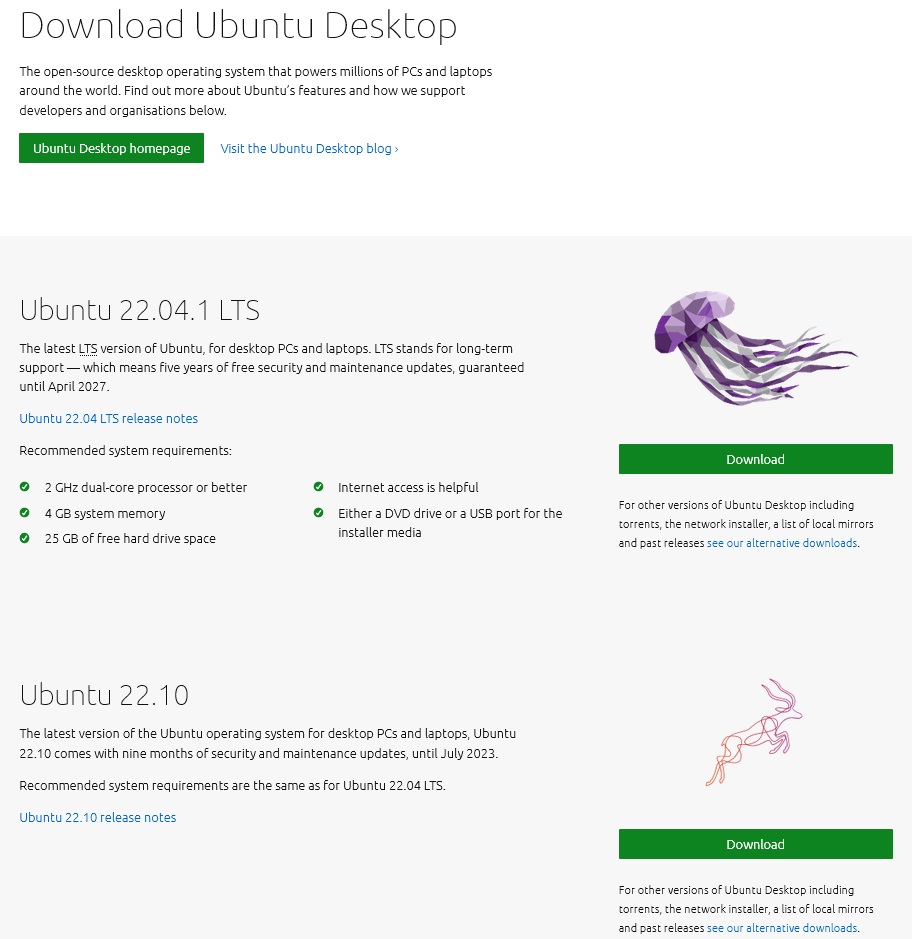
The download starts automatically. This guide uses the Ubuntu 22.04.1 desktop image. Save the .iso file to the desired location. Use this file to create a bootable USB drive.
Create Bootable USB
To create a bootable USB drive, use a USB drive with at least 4 GB of space. Save all existing data, as the process will erase all data from the device.
- In Ubuntu, you can use Startup Disk Creator for this.
- In windows, you can use Rufus to create a bootable USB drive
Install Ubuntu 22.04 LTS
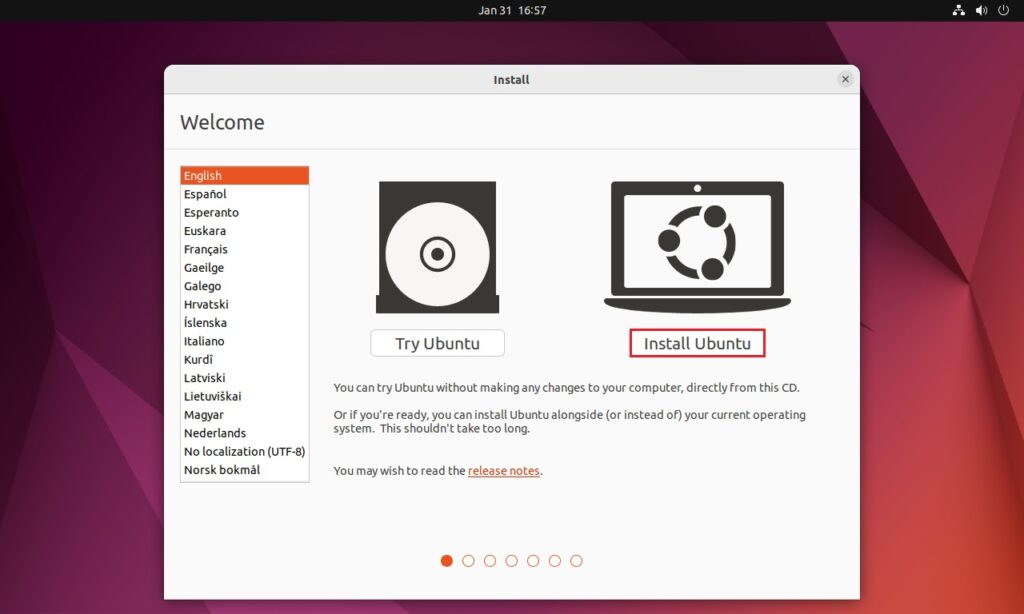
When the boot menu appears, use the arrow keys to select Ubuntu USB Boot Device. The system will start loading the Ubuntu Live Disk List.
Install Ubuntu 22.04 LTS Desktop
If you’re ready to install, start the installation by clicking Install Ubuntu in the Welcome menu.
Choose Keyboard Layout
The system selects the English (US) keyboard layout by default. You can choose as you want.
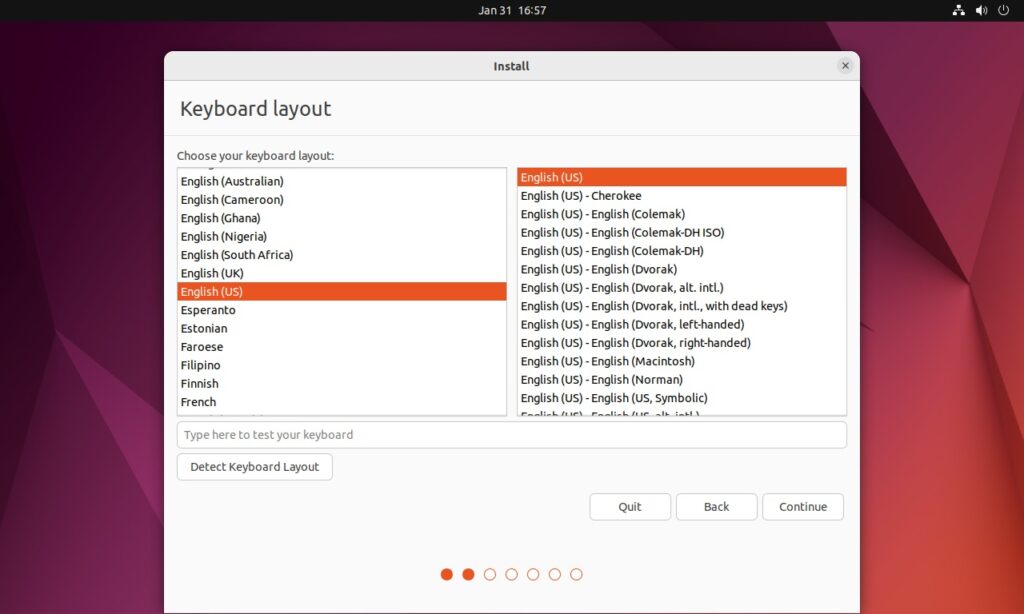
For non-standard keyboard layouts, select one from the list or click on Detect Keyboard Layout. Use the text box to test the keyboard.
Click Continue when ready.
Updates and Starting Applications
- Normal Installation includes media players and productivity software from the start.
- The minimal installation includes only the basic tools.
Next, Update, and Third Party options:
- Download updates during Ubuntu installation – Save time by downloading update packages during installation and after installation.
- Install Third Party Software – Select this option if proprietary software or hardware requires drivers or if the drivers do not have an open source option.
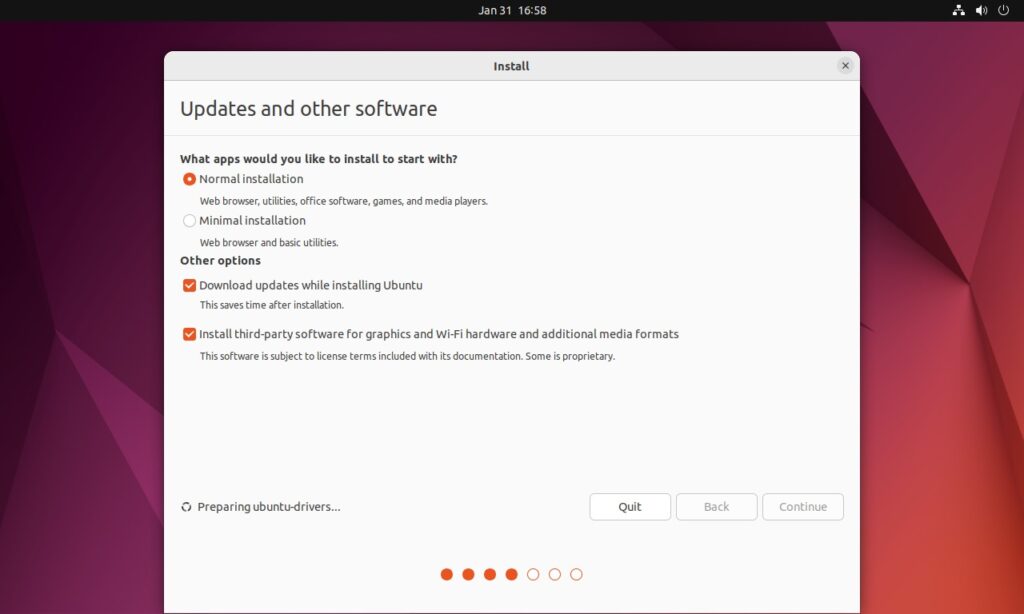
Click Continue when ready to proceed.
Installation Type
The Installation Type dialog deals with disk partitioning. Where you have to make the partitions:
To do a clean install, click Erase disk and install Ubuntu.
Note:- Please make a backup first this step will format your hard drive. So make sure you create the backup first.
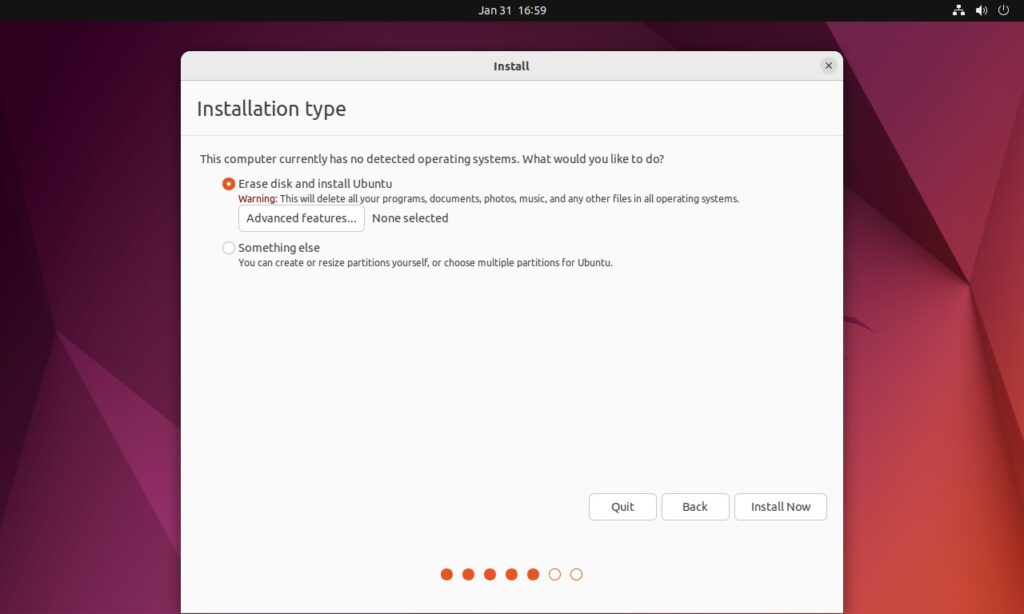
Click Install Now to begin the installation.
Choose your time zone
After the partitioning is complete, you will be asked to set the time zone.
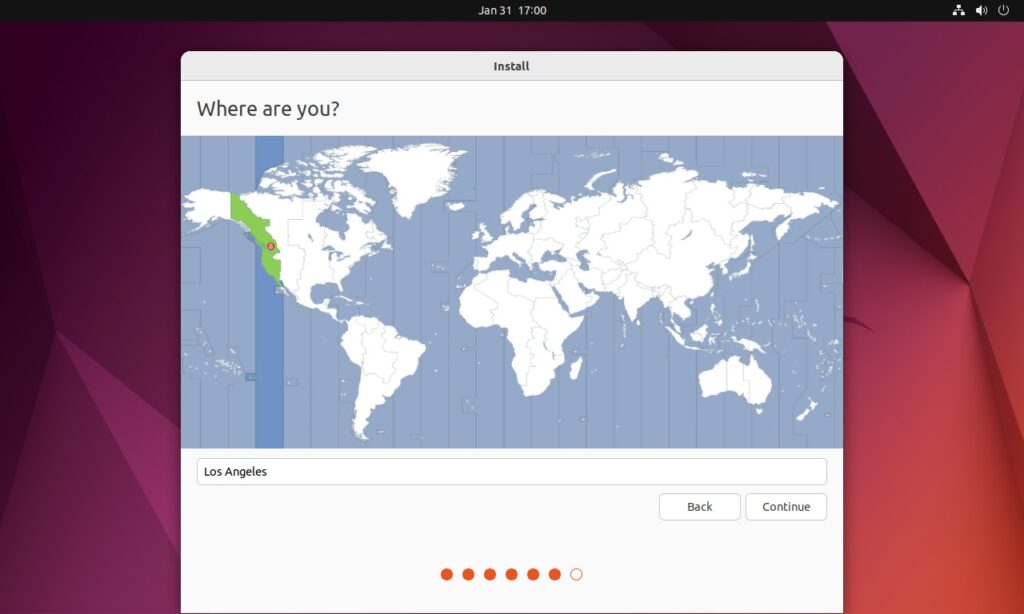
Search for a location in the Search field and click Continue. You can change the time zone at any time later.
Create user account
Set up a user account to access the system. Fill out the form with the following information:
- Name – Your real name.
- Computer name – This is the hostname. Use this name to access your computer remotely.
- Username – The name of the account.
- Password – Enter and confirm a strong password. The form automatically evaluates password strength.
- Log in automatically – not recommended for servers with public access.
- Require my password to log in – recommended for servers with public access.
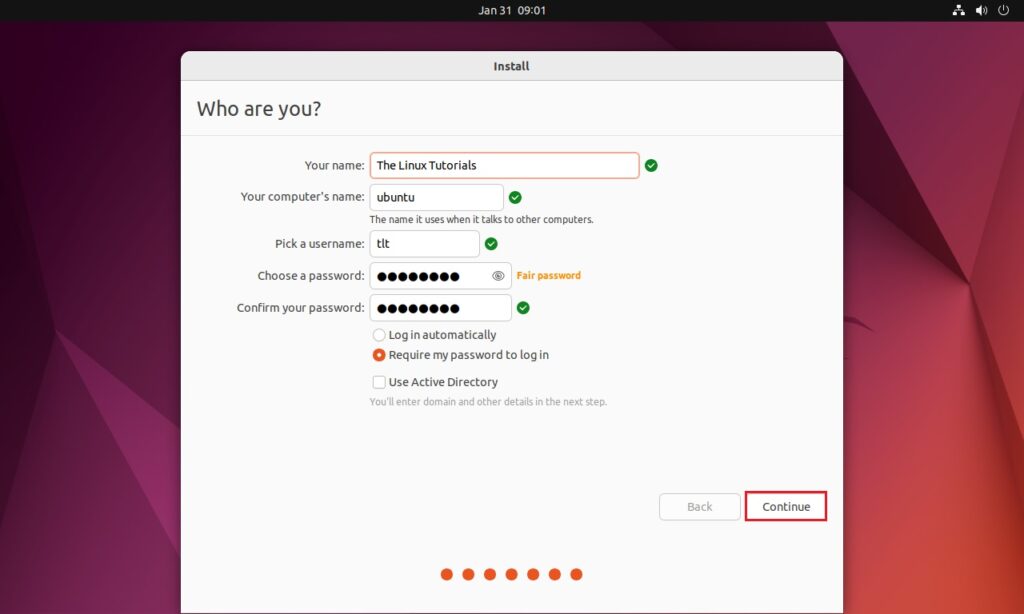
Click Continue to proceed.
Ubuntu Installation Complete
When the installation finishes, a prompt appears to restart the system.
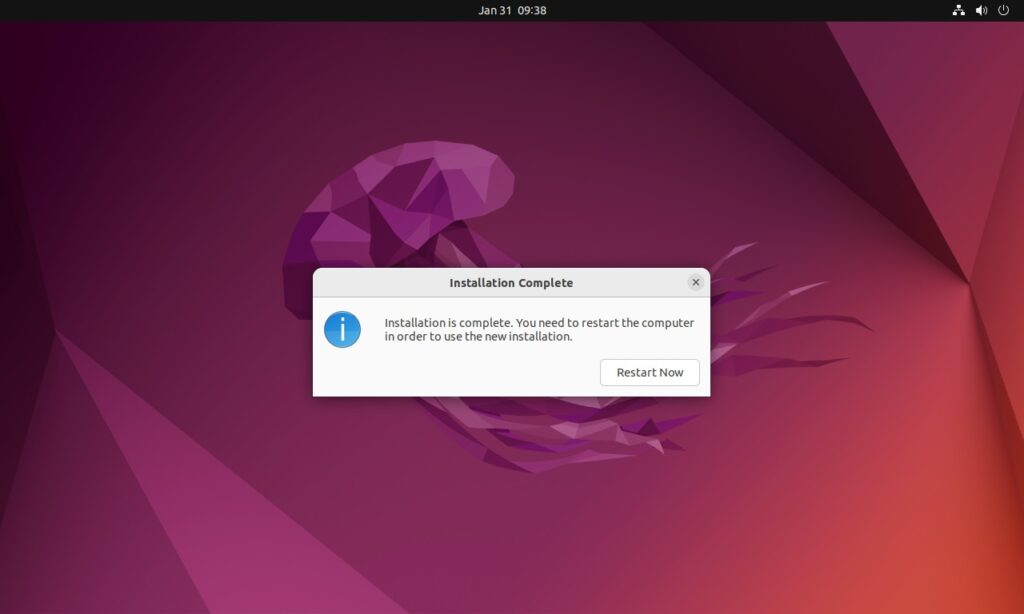
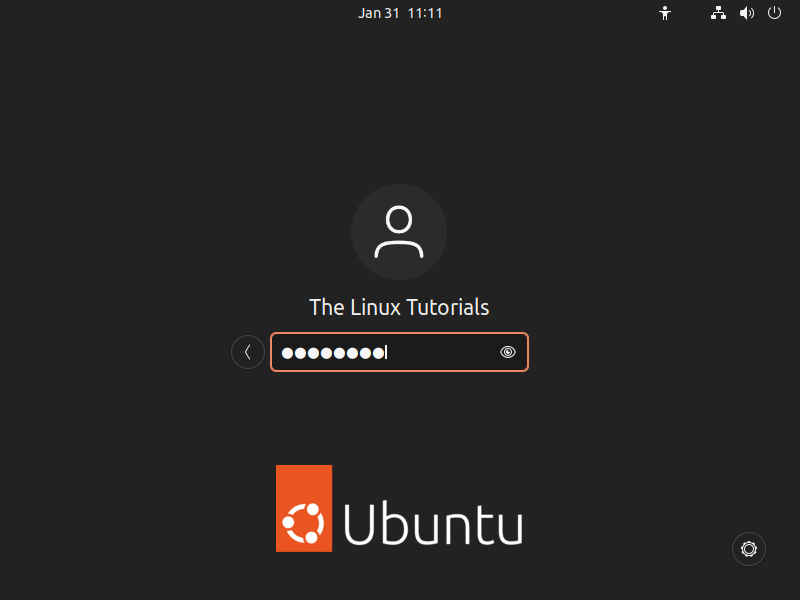
Remove the installation media and click Restart now. When the system restarts, the login screen appears. Click on the username and enter your credentials.
Conclusion
You’ve successfully installed Ubuntu 22.04 LTS, codenamed Jammy Jellyfish! Next, update and upgrade your system and explore the new features.
If you have any questions please leave them in the comments below.