
In this article, we are going to learn about how to install Google Chrome on Ubuntu using the command line. For web browsing, Google Chrome has risen as one of the most popular options among users due to its speed, versatility, and wide variety of features Although Ubuntu has pre-installed Mozilla Firefox, but you may prefer Chrome for a variety of reasons, including some websites Whether it’s compatibility with, extensions, or just personal preferences Fortunately, installing Google Chrome on Ubuntu is a simple process, and you can use it only a few commands have been executed in the terminal.
Here are the step-by-step instructions on how to install Google Chrome in Ubuntu using the command line:
Step 1: Open the terminal
First, let’s start the terminal. You can do this by pressing Ctrl + Alt + T on your keyboard, or by searching for “Terminal” in the applications menu.
Step 2: Download and import Google Chrome Signing Key
Type the following command in the terminal window and press Enter.
wget -q -O - https://dl.google.com/linux/linux_signing_key.pub | sudo apt-key add -
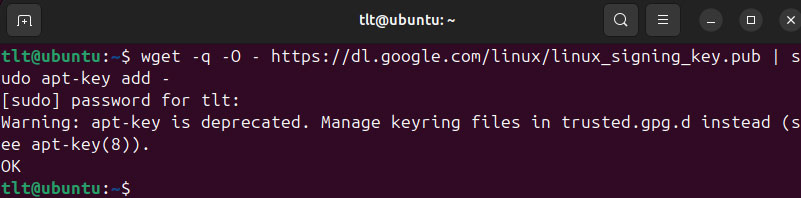
This command downloads the Google public signature key and adds it to the list of trusted Ubuntu keys.
Step 3: Add Google Chrome Repository
Now we need to add the Google Chrome store to the Ubuntu software sources. Enter the following command in the terminal.
sudo sh -c 'echo "deb [arch=amd64] http://dl.google.com/linux/chrome/deb/ stable main" >> /etc/apt/sources.list.d/google-chrome.list'

This command adds repository information to a new file called google-chrome.list in the /etc/apt/sources.list.d/ directory.
Step 4: Update the Package Lists
To ensure that Ubuntu knows about newly added repositories and their packages, update the package lists by issuing the following command.
sudo apt update
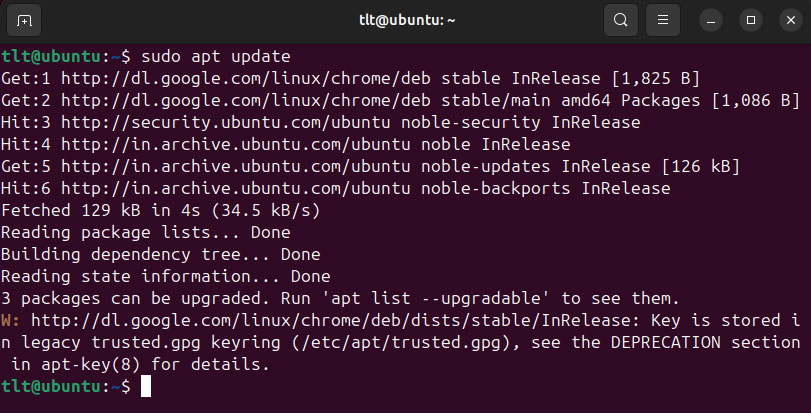
This command refreshes the information about available packages from all configured sources, including the newly added Google Chrome repository.
Step 5: Install Google Chrome
Now that everything is set up, it’s time to install Google Chrome. Type the following command in the terminal and press Enter:
sudo apt install google-chrome-stable
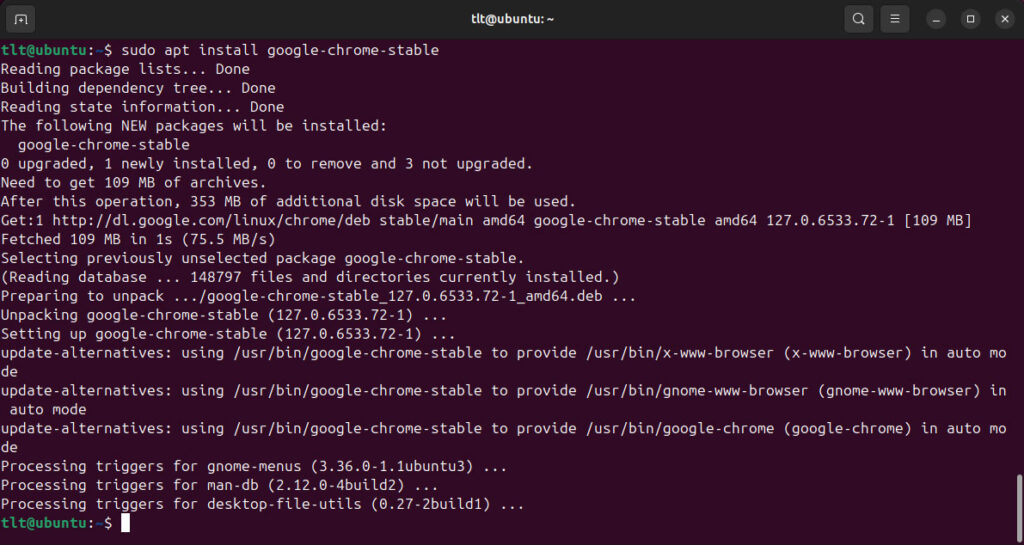
This command installs the stable version of Google Chrome on your Ubuntu system.
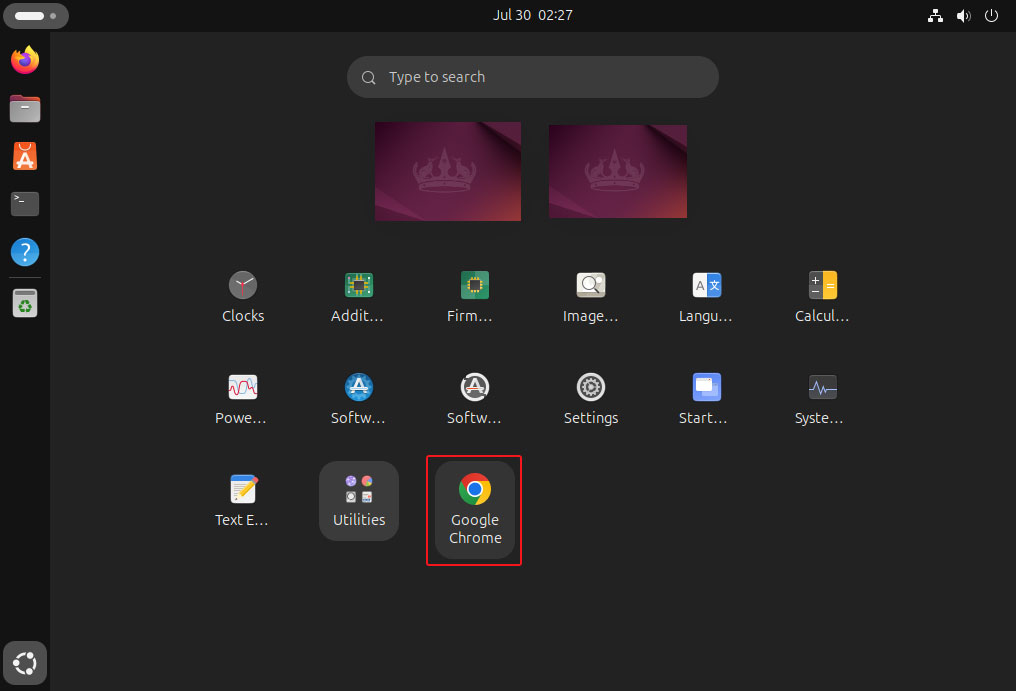
Step 6: Launch Google Chrome
Once the installation is complete, you can launch Google Chrome from the applications menu or by typing google-chrome-stable in the terminal and pressing Enter.
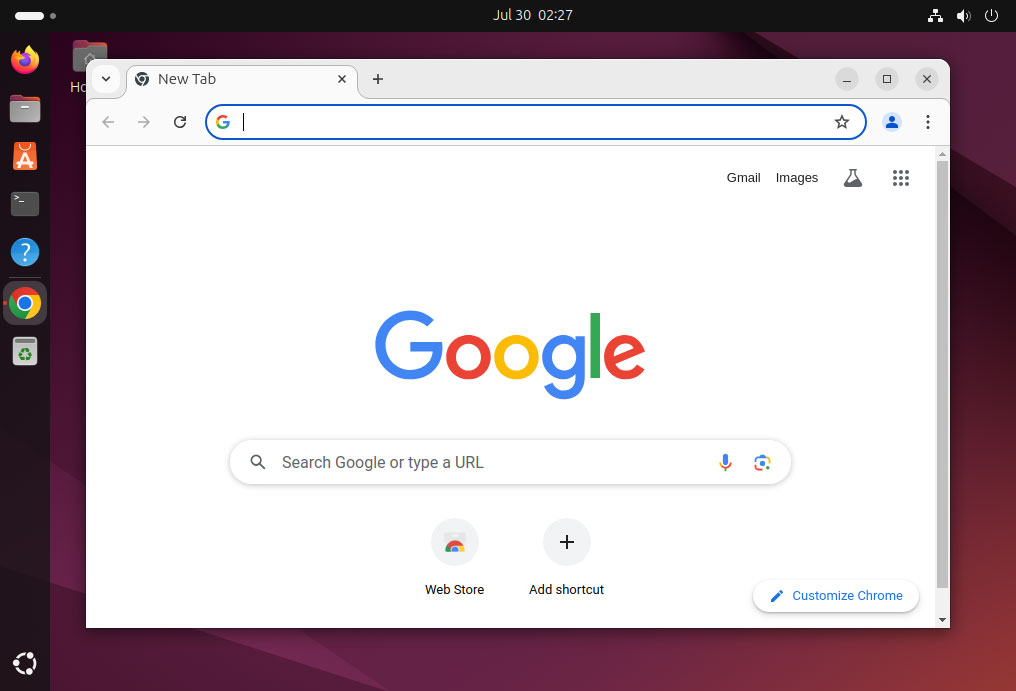
That’s it! You’ve successfully installed Google Chrome on your Ubuntu system using the command line. Now you can enjoy all the features and benefits that come with Google’s popular web browser.
Conclusion
Google Chrome offers a seamless and feature-rich browsing experience, and installing it on Ubuntu is a breeze with the command line. By following the steps outlined in this guide, you can quickly get Google Chrome up and running on your Ubuntu system. Whether you’re a casual user or a power user, having access to Chrome on Ubuntu opens up a world of possibilities for browsing the web efficiently and securely.